Photography Toolkit
This unit is made up of a series of tutorials and set tasks that will help you understand how to use your digital camera and and SLR camera, covering the basic principles of photography. You will also be learning to develop your 'photographic eye' and improve your compositional understanding. The toolkit will also provide you with a basic understanding of the history of Photography and the Camera.
E-Portfolio
The first thing to do is to create an e-portfolio that will house all of your photography work from now until the end of the course. We use a provider called 'Weebly'.
History of Photography
Learning Objective
To gain an understanding of the early history of Photography
Learning outcome
Use the knowledge gained in class to create a time line of photographic history on
students weebly
Task
Use the information in the clips to write a short introduction to the history of Photography. Download the images in the slideshow below to create an illustrated time line.
|
Make sure you include:
Alzahen Rennaissance Artists (Leonardo Da Vinci) Camera Obscura Johann Heinrich Schultz Joseph Nicephore Niepce Richard Leach Maddox & Gelatin Dry Plate Photography Henry Fox Talbot Calotype Louis Daguerre Daguerrotype Edward Muybridge George Eastman and Dry Plate Printing Oscar Barnak & the Leica Camera Steve Sassoon, Digital Photography Digital SLRs Phone cameras |
|
Documenting Work and Annotation
|
|
|
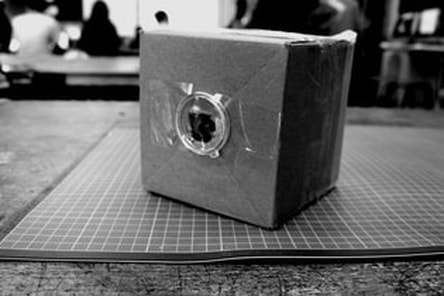
The Camera Obscura
|
|
|
|
Objective
To demonstrate an understanding of the Camera Obscura and demonstrate how it influenced early photography
Outcome
All groups to have created a camera Obscura and tracing paper examples of a scene.
Task
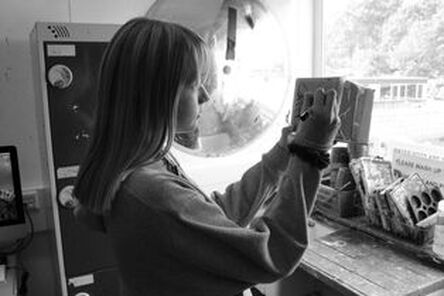
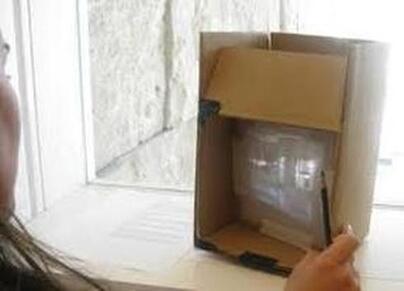
Using the work sheets as a guide in pairs create a camera obscura.
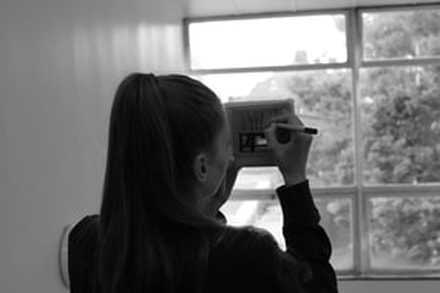
When you have created the box take it to an interesting scene around North Wing and create a series of tracing paper, obscura scenes.
Take a digital photograph of the scene that can be placed alongside the tracing paper image.
On your weebly you should have the following photographs
1) The different stages of you making the camera
2) Using the camera to create a drawing
3) the tracing paper image and the digital version of the scene
To demonstrate an understanding of the Camera Obscura and demonstrate how it influenced early photography
Outcome
All groups to have created a camera Obscura and tracing paper examples of a scene.
Task
Using the work sheets as a guide in pairs create a camera obscura.
When you have created the box take it to an interesting scene around North Wing and create a series of tracing paper, obscura scenes.
Take a digital photograph of the scene that can be placed alongside the tracing paper image.
On your weebly you should have the following photographs
1) The different stages of you making the camera
2) Using the camera to create a drawing
3) the tracing paper image and the digital version of the scene
Images for yr 10 to download onto their own weebly
|
|
|
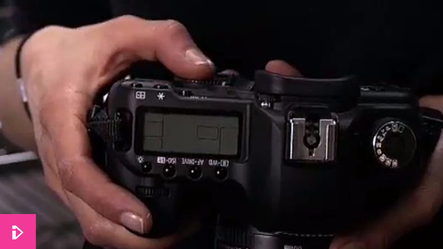
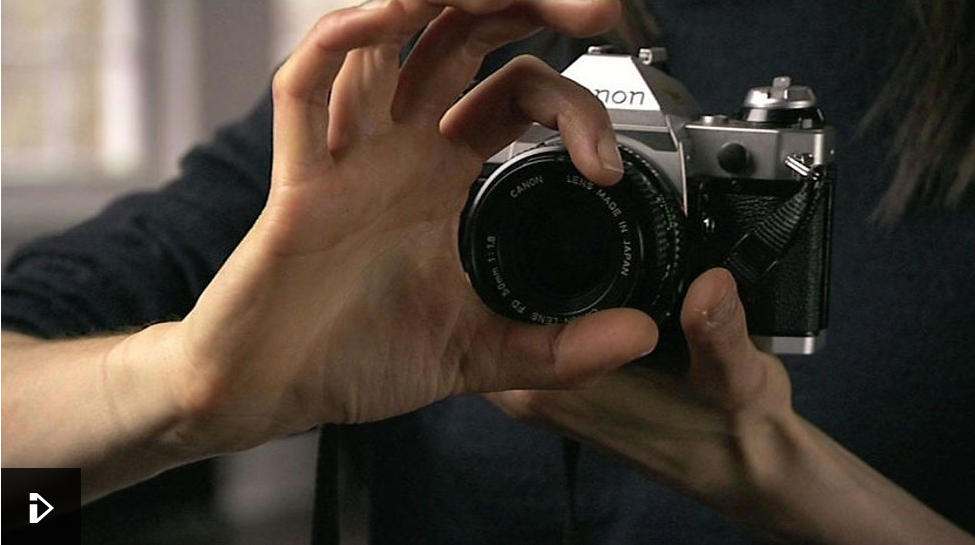
SLR Camera
Objective
To develop an understanding of the SLR camera and use this knowledge to help take better photographs
Outcome
All students to have created a section on weebly listing the different parts of the SLR camera.
Task
Create a section in your Toolkit web page labeled the SLR. Upload an image of an SLR camera and then, using the sheet provided, list the different camera parts and controls and what they do.

|
|
M – Manuel , A – Aperture priority , S – Shutter priority, P – Programme mode ,
Composition
The term composition means 'putting together' and can apply to any work of art, from music to writing to photography. Composition, at its most basic, is how you place your subject (and everything else) in your view finder.
Before you begin taking photographs we are keen that you become more aware about the composition of you images.
Before you begin taking photographs we are keen that you become more aware about the composition of you images.
Objective
To develop understanding of composing an image in the viewfinder.
Outcome
Identify different compositions and photograph them.
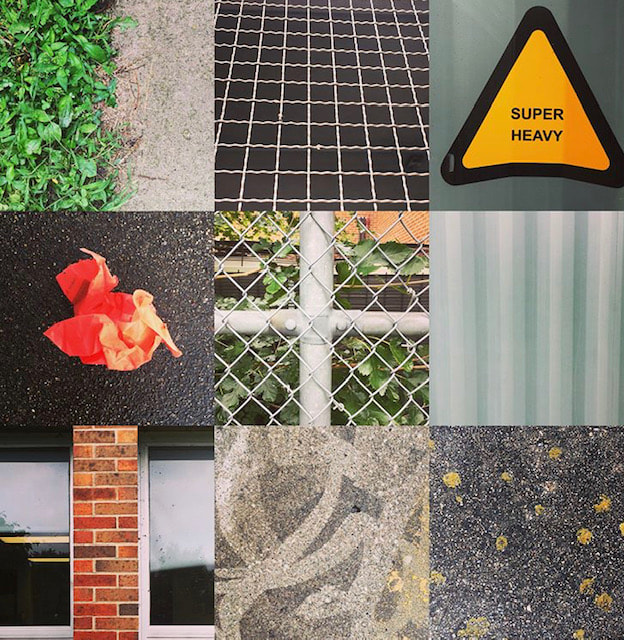
Task 1
With your camera settings on automatic, find examples of the nine different compositions on the handout. Carefully arrange your composition in your viewfinder before taking the photo.
To develop understanding of composing an image in the viewfinder.
Outcome
Identify different compositions and photograph them.
Task 1
With your camera settings on automatic, find examples of the nine different compositions on the handout. Carefully arrange your composition in your viewfinder before taking the photo.

|
|
|
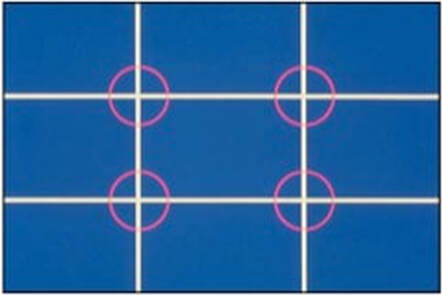
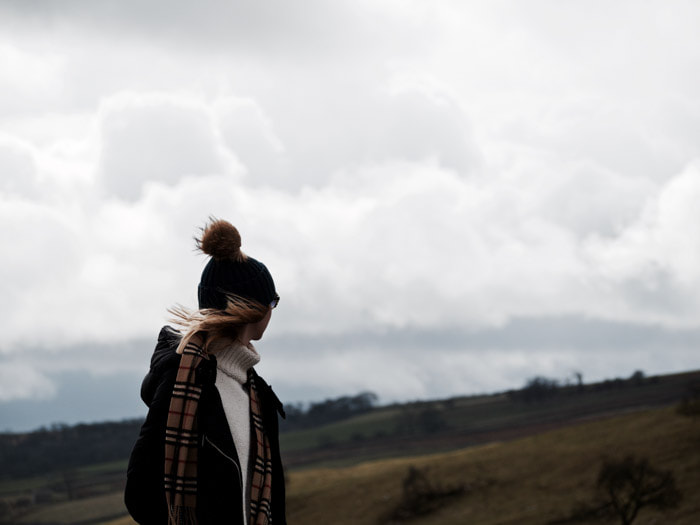
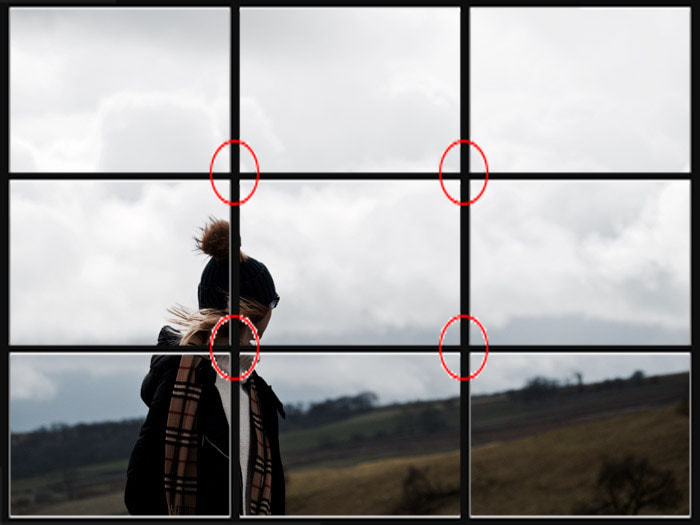
Task 2: Rule of Thirds
Imagine your picture area divided into thirds both horizontally and vertically. The intersections of these imaginary lines suggest four options for placing the centre of interest for good composition. The option you select depends upon the subject and how you would like that subject to be presented. Photograph a person in a landscape:
|
|
|
|
|
|
|
|
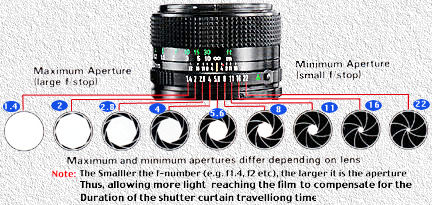
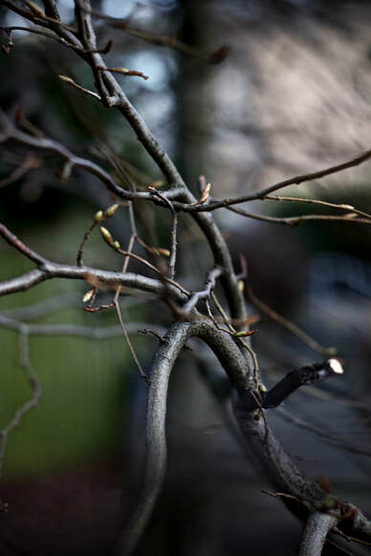
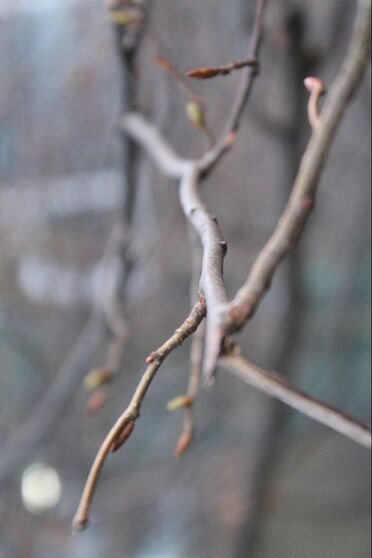
Depth of fieldDepth of field means how much of the image is in focus. You can have a narrow depth of field, where only a small part of the image is in focus, or you can have a larger depth of field, where everything is in focus. Depth of field is controlled by the aperture. A larger aperture means a narrower depth of field.
|

|
|
Shutter Speed
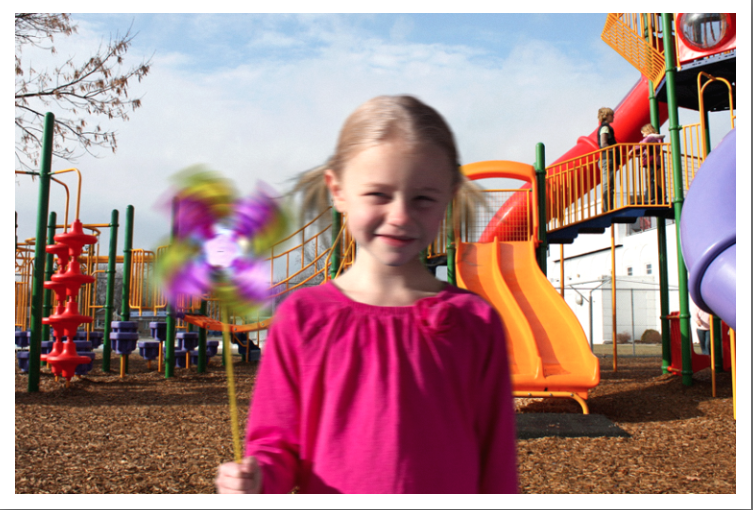
Click on image to go to shutter speed simulator
|
|
Click to set custom HTML
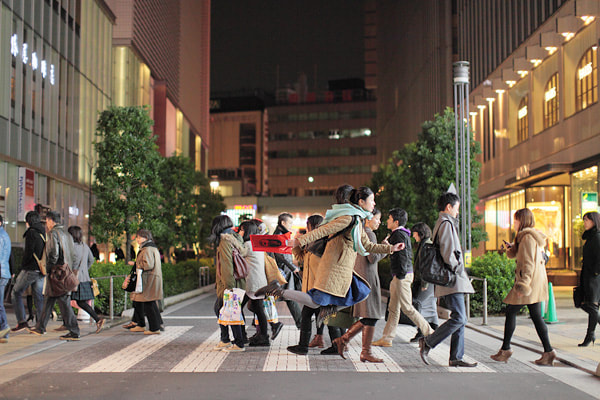
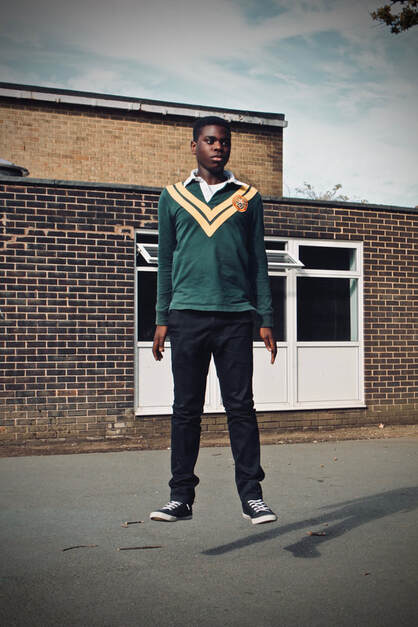
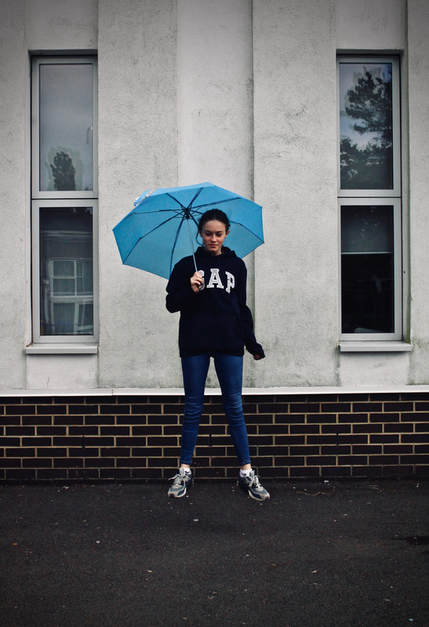
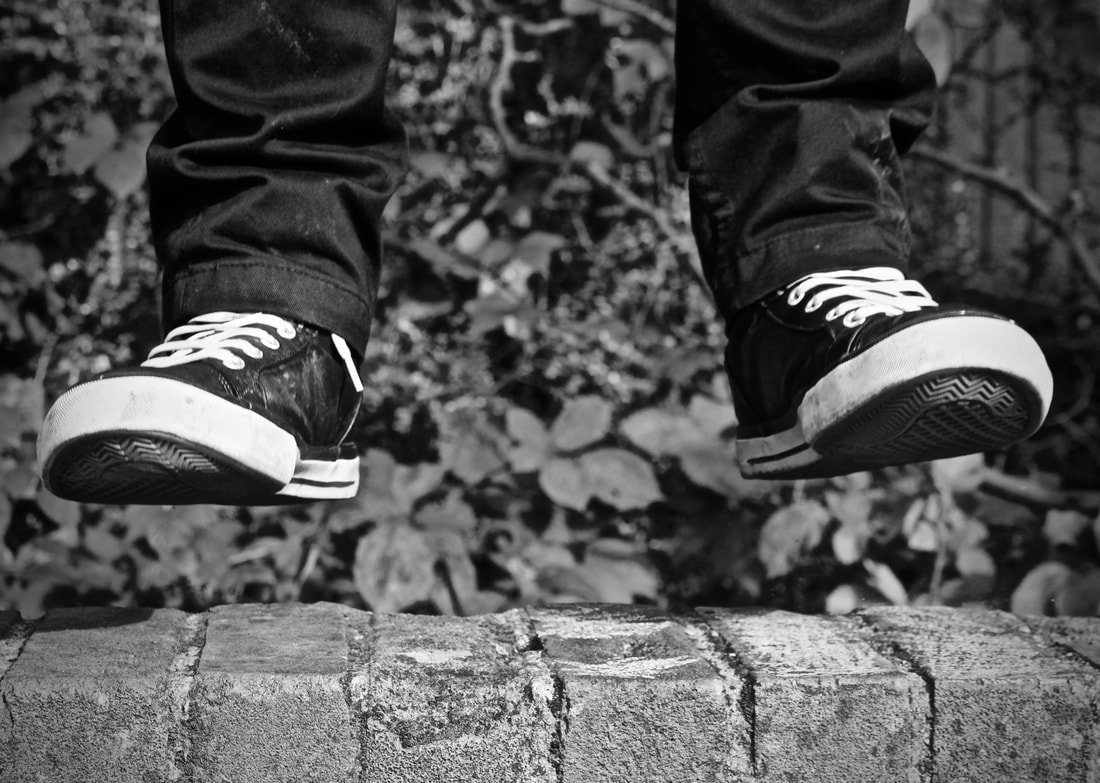
Capturing Movement - Natsumi Hayashi Levitation - Fast shutter speed
Hayashi is a Japaneese photographer who lives in Tokyo. She is best known for her levitation photographs of herself looking light as air, shot mostly around the city. Levitation photos are supposed to emphasize the natural flow of time, Hayashi, who usually shoots with a shutter speed of 1/500th of a second or faster. The pose, too, is important. A position that feels right may not mesh well with the environment. “I must be aware of the shapes of my arms and legs and make slight adjustments in every jump,” she said.
|
|
|
|
|
Benji Reid - Choreo-Photolist
Reid considers himself a Choreo-Photolist; a practice where theatricality, choreography and photography meet in a single or series of images. Within his single images he captures movement and motion and tells a story that has multiple layers
"There is movement in everything, but there is no drama without dramatic tension, and there is no image without soul".
These are the layers of the Choreo Photolist. Within these walls lay a playfulness of elements, hearts in exploding backpacks, goldfish bowls as Astronaut helmets, water as propulsion for transportation. but the body in space has always been my weapon of choice my voice here I attempt to tell static stories that explore issue around mental heath, freedom and love of self.
SET TASK 1
Using the work of Natsumi Hayashi and Benjyi Reid as a starting point create a series of shots that demonstrate your ability to capture movement. The key to successful levitation is correct shutter speed but also how you use the model and any props that you want in the shot. In pairs try and create a number of interesting levitations shots.
Upload your images and make sure you keep write down what shutter speed you used to capture them
Create an artist section on your weebly and upload three of your chosen artists images.
SET TASK 2 - Homework
Continue with the theme but try and be even more creative within your home environment. Take at least 20 shots that demonstrate your creative thinking and technical knowledge.
|
|
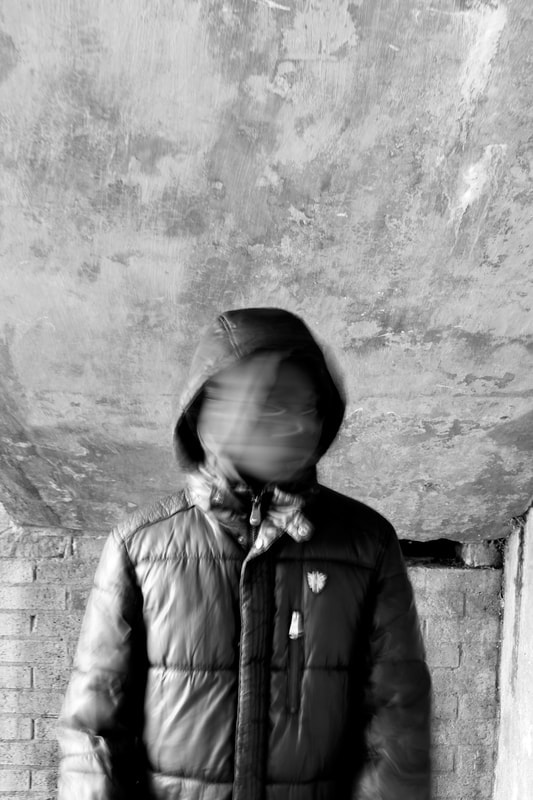
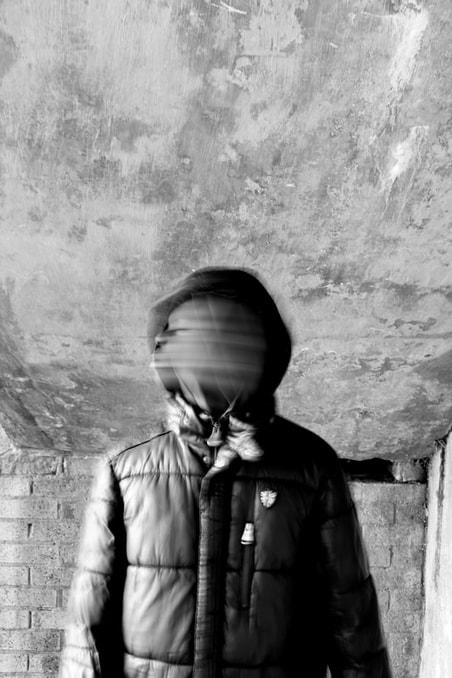
Capturing movement - Slow shutter speed
Movement of a figure
In today's task you will focus on the work of Francesca Woodman. She is famous for creating ghost-like images where the subject is blurred against a sharp background. Woodman is the main subject in her photographs and her work is incredibly emotive particularly when you discover that she committed suicide at the age of 27.
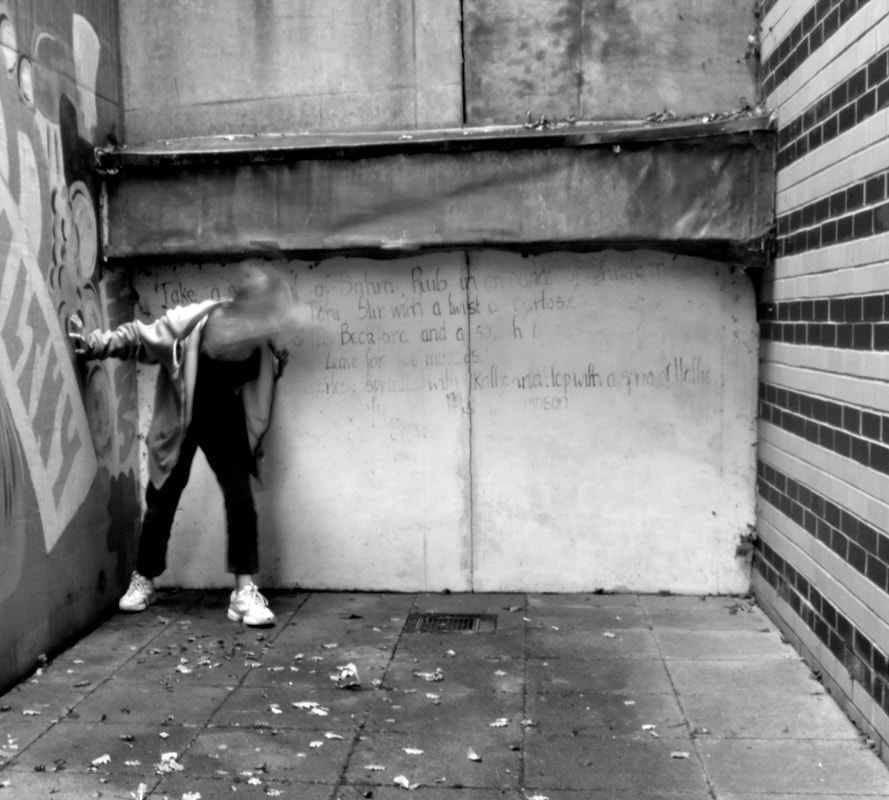
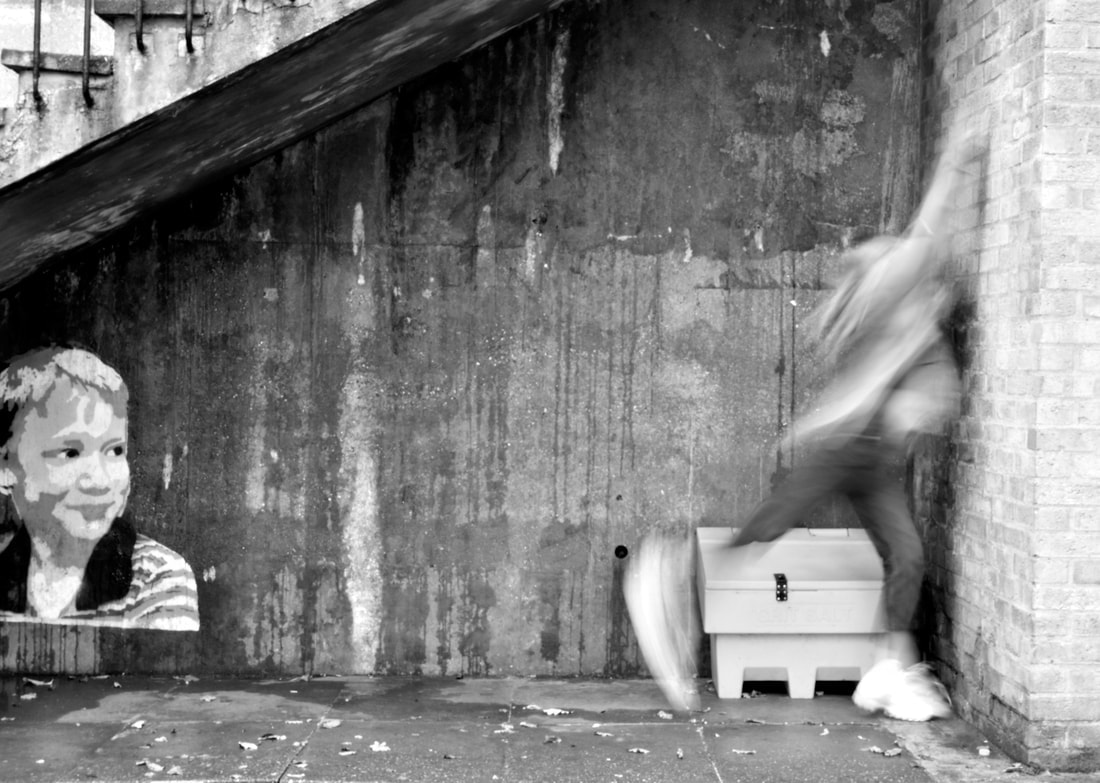
- Photograph your partner. Use a long exposure to blur the subject but keep the background in focus.You can blur the subject by asking them to move slightly while you take the photo. TIP: It is particularly effective if they keep one part of themselves still such as their feet or hand (holding onto a door frame or something similar)
- Document this on your weebly, linking the task to the theme and discussing what went well and even better if.
- This task should also be accompanied by analysis into the work of Woodman (use the process and content sheet)
How to edit your Movement of the figure images like Francesca Woodman
Don't forget to screen grab:
Command / Shift / 3 for the whole desk top
Command / Shift 4 to select the part you want to capture.
Command / Shift / 3 for the whole desk top
Command / Shift 4 to select the part you want to capture.
Student Examples
|
|

|
|
|
ISO (Mel)
|
|
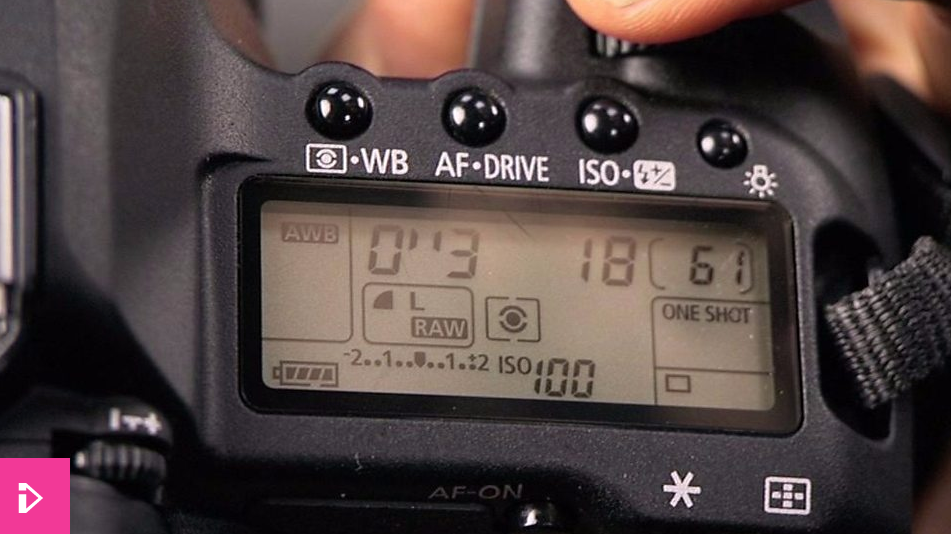
Although an even exposure is reliant on the correct speed and aperture setting, sometimes the scene is too dim and it means that you would need to take a photo for less than 1/60 second. This means that there is the possibility of camera shake from your hand and also the possibility of blur from the movement of your subject/scene as explained above.
You have one other possibility to improve your chances of taking a picture that is not blurred and that is by changing the ISO setting (or changing the type of film if using analogue). This must be done before changing your speed and aperture settings on a digital camera) As explained earlier, the ISO is a standardised number (i.e. 100, 400, 1600) that determines the sensitivity of the film/digital sensor (CCD). The higher the number, the more sensitive and more applicable to low light situations. The disadvantage with a high ISO is that the quality is grainy - see Fig.1. Fig.2 illustrates the 3 main variables when trying to capture the correct exposure. Like all art forms, there is a subjective element to what effects you want, but try to start by getting a sharp, well exposure image with no motion blur. |
Click to set custom HTML
Creating a GiF
Advanced Toolkit
Portrait Disorder - Giffs
When a photographer takes a portrait they would normally aim to create a sharp crisp image that has a realistic likeness to the person. However this is not always the case the task below aims is to create a series of disordered portrait.
Task one
Set up your camera on a tripod or in a set position. Get your model to sit down and ask them to look directly into the camera.The model must sit in the studio and move their head from side to side. Each time they move their head take an photograph of their face.
Task two
Take the images and then following the instructions in the handout and slideshow create a head movement gift.
cc
Look at the work of Romain Laurent and create an artist section analysing at least three of his images in full
Homework
Using the same technique take a series of portrait images at home that can be turned into a second response portrait giff.

|
|
|
|

|
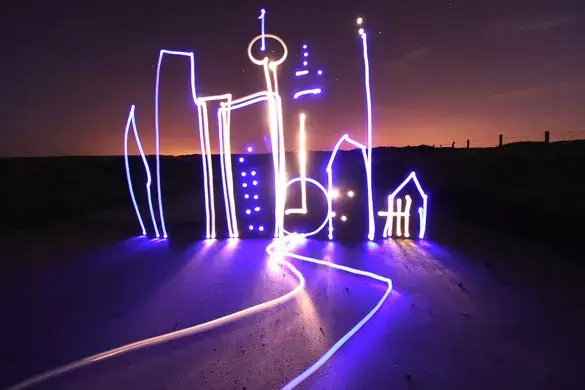
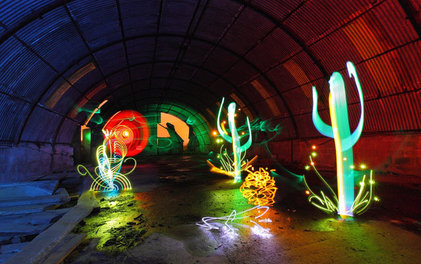
Light Paintings - Michael Bosanko
Bosanko's portfolio contains photographs using one single exposure to record a scene. While the exposure remains open, light is used in a variety of ways to create the images. The photographs are real, and free from photo manipulation, layers or special effects of any kind.
THE PROCESS
Step 1: Preparations - what you will need
Darkness (a dark room or from sunset to sunrise)
A lot of patience and patient friends/collegues
A camera (any camera will work but I recommend a digital SLR),
A video editing application to put it all together into a video sequence
Step 2: The basic principle
The basic principle when it comes to light painting is that you capture the light as it moves from one point in space and time to another. To do this you need to set your camera to full manual mode. Then you set the exposure time to at least a few seconds, we ended up using between 5 and 20 seconds depending how much we had going on in each frame.
To get a sharp image you will want to fix the camera to something, a decent tripod will get the job done. To avoid differences in focus set the focus to manuel.
An added bonus of using a still camera is the amazing image quality you can get even out of the most basic digital camera compared to a consumer video-camera, you could make your end video in full HD resolution.
Set Tasks 1
Using the work of Micheal Bossanko as a starting point create a series of shots that demonstrate your ability to capture light painting.
The key to successful light painting is use the correct shutter speed but also how you use the model and any props that you want in the shot. In pairs try and create a number of interesting light painting shots.
SET TASK 2 - Homework
Continue with the theme but try and be even more creative within your home enviroment. Take at least 30 shots that demonstrate your creative thinking and technical knowledge.
|
|
|
